This tutorial is designed to allow James Cook University students to connect to Walkabout wireless from a Symbian S60 3rd Edition device. Large parts of this tutorial may also apply to other Symbian versions. However, this has only been tested on an S60 3rd Edition Device. It requires some intermediate level computer experience, though even some users with only basic experience with computers should be able to accomplish this with no issues provided they follow the tutorial step-by-step.
Adding JCU as a Certificate Authority
The first problem with Symbian S60 devices is that they have a limited scope of 'trusted' certificate authorities. This means they only trust secure connections from sources who have a security certificate issued by a certain companies. To make JCU's certificates work for the wireless authentication, we need to add JCU's Certificate Authority certificate to the Symbian Device.
Step 1. - Download the JCU Certificate Authority Certificate
Download this file to a location on your computer (Right-click the file, and click 'Save Link As' or 'Save Target As'). Save this file to a convenient location like the Desktop.
http://www.jcu.edu.au/cacert.cer
Step 2 - Transfer the Certificate Authority Certificate to the Device
This step will vary greatly based on model and connectivity of the users computer and device. In this example we will use the Windows File Transfer wizard, though any file transfer method (USB, Infrared, etc.) should be sufficient. The Bluetooth File Transfer Wizard this tutorial uses is installed on Windows Vista and Windows 7 by default. However, some versions of Windows XP (in particular those running Service Pack 2) may not have this utility and will have to use an alternative method.
The process of transferring files to a Symbian device should be well described in the device's manual. This tutorial also assumes you have connected your device to your computer for file transfers previously. It is not within the scope of this document to provide details on setting up your device to work with the Windows Bluetooth File Transfer Wizard.
2.1 - Enable Bluetooth on both devices
- Enable bluetooth is enabled on your Symbian device.
- Enable bluetooth on your computer.
2.2 - Start the Bluetooth File Transfer Wizard
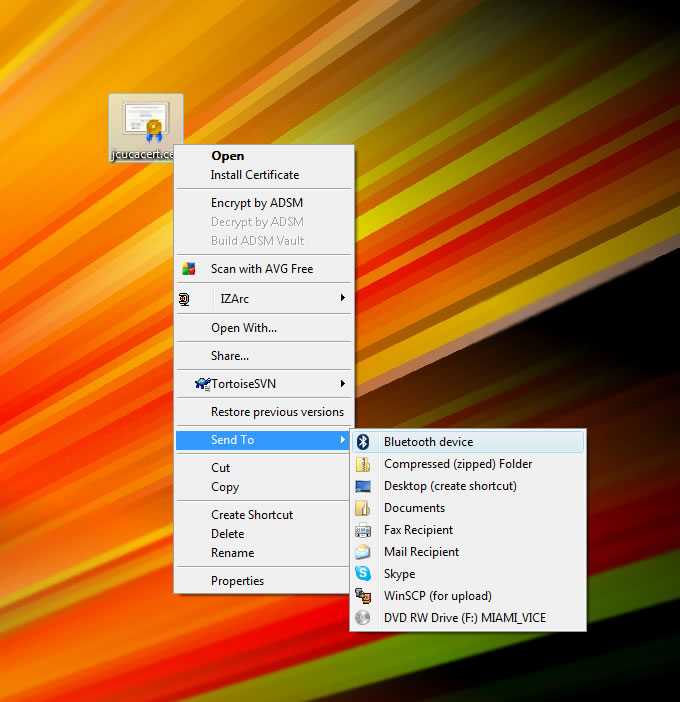
- Right click on the file with the '.cer' extension.
- Select the 'Send To' submenu.
- click the 'Bluetooth Device' Option.
2.3 - Select Device
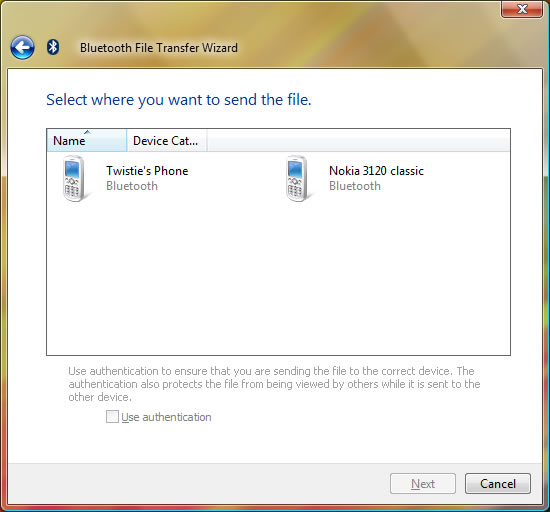
Select the device you wish to transfer the file to.
2.4 - Permit Data Transfer on Symbian Device
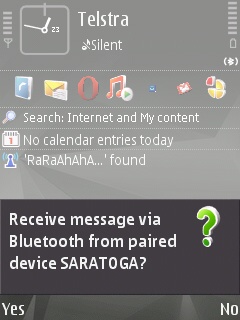
You will have to allow the Bluetooth transfer on the device. In most cases it will prompt you if you would like to receive a message from your computer. Use the key corresponding to the on-screen 'Yes' button to proceed.
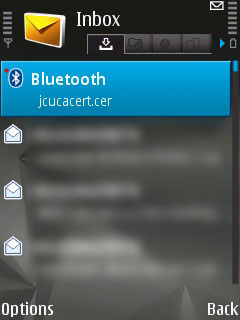
2.5 - File Transfer Complete

The file will transfer in a few seconds. Most Symbian devices will receive this new file as a 'Message', just like a Txt message, and will display the '1 New Message' prompt. The Bluetooth File Transfer Wizard on the computer will present a screen confirming the successful transfer of the file to the Symbian Device
Step 3 - Installing the Certificate Authority on the Device
The following steps continue on from the Bluetooth file transfer method used in the last step. If you transferred your file in another way which does not appear as a message, you should be able to access it by navigating to its location and using the 'File Manager'.
3.1 - Open the Message
- Go into the 'Messaging' application on the device.
- Navigate into the Bluetooth message you just received.
If you have used an alternative method to transfer the certificate to the device, you may have to use the 'File Manager' under the 'Tools' menu on your Symbian device to open the file.
3.2 - Save Certificate
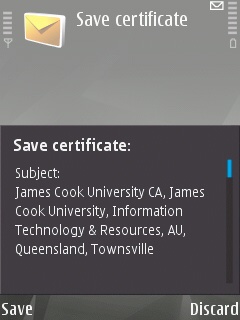
The 'Save Certificate' screen be presented with the details of the certificate authority.
- Press 'Save' to continue.
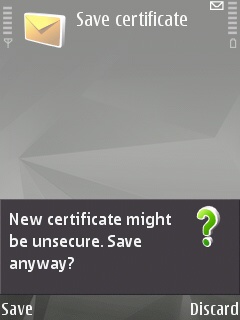
The Symbian device will then prompt for verification because this certificate is not from one of the device's trusted certificate authority providers.
- Press 'Save' to continue.
Step 4 - Trust the James Cook University Certificate Authority
Now that the certificate is installed, the Symbian device needs to be setup to trust the certificate otherwise the device will refuse the authentication when you attempt to login to Walkabout. It is apparent that some versions of Symbian will trust all installed certificates by default, others will need to enable the trust seperately. This tutorial assumes the device doesn't automatically trust all installed certificates, and even those that do, should follow this proceedure anyway simply to ensure their certificate manager is acting as expected.
4.1 - Find the Authority Cerificate
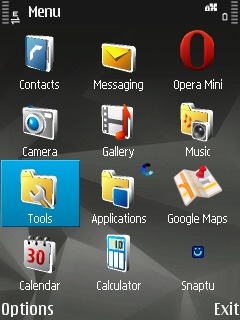
- Navigate to the 'Tools' menu in the main menu.
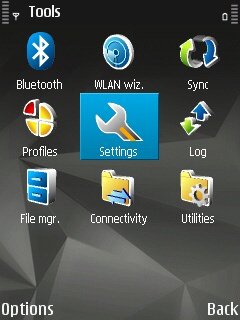
- Select the 'Settings' option in the 'Tools' menu.
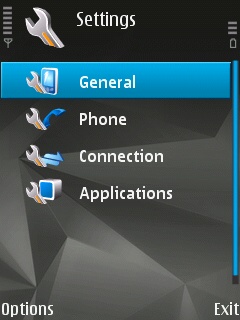
- Select the 'General' option in the 'Settings' menu.
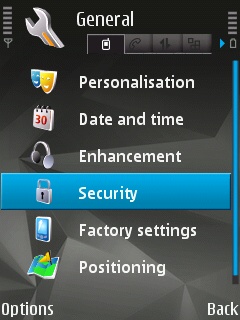
- Scroll down to find 'Security' option in the 'General' menu.

- Select the 'Certif. Management' option in the 'Security' menu.
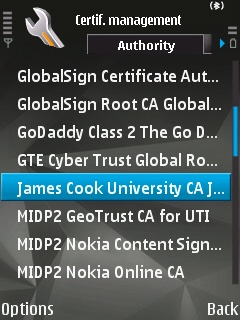
This will list a long list of authority certificates installed on the device.
There are two tabs in this interface, 'Authority' and 'Personal'. For most users the 'Personal' list will be empty, if you only see an empty list when you enter the '' menu option you can access the 'Authority' tab by hitting the left directional button. In approximatly the middle of the list of Authority Certificates you should find a certificate labelled 'James Cook University CA', select this then continue to the next option.
4.2 - Set the Authority Certificate to trusted
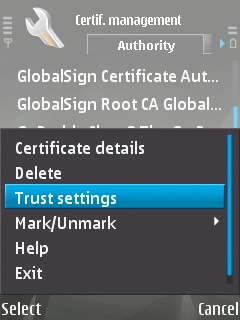
- Open the 'Options' menu by pressing the softkey associated with the 'Options' function listed at the bottom of the screen.
- Select the 'Trust Settings' option in this menu.
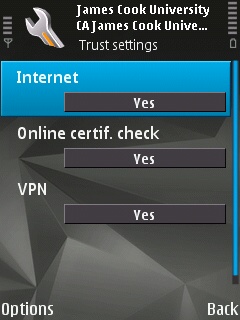
The 'Trust Settings' screen will appear, this has several environments in which to trust this certificate which can be toggled on and off by highlighing the field then pressing the middle or select button on the device.
- Toggle all the options to 'on'.
4.3 - Exit back to Home Screen
- Exit to the home screen by either hitting 'Back' until your arrive or using the 'Home Screen' button.
Setting Up Wireless
Step 5 - Setup Wireless
This guide gives a overview of how to setup wireless once the user has James Cook University loaded as a Certificate Authority. To setup the device you do not need to be in range of a Walkabout access point if you use the method described below. However, you will need to be in range of a Walkabout access point to test the connection.
5.1 - Create New Access Point
- Navigate to the 'Tools' menu in the main menu.
- Select the 'Settings' option in the 'Tools' menu.
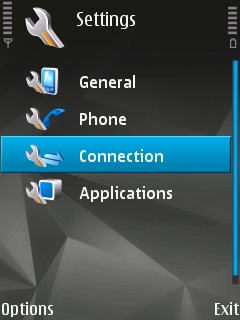
- Select the 'Connection' option in the 'Settings' menu.
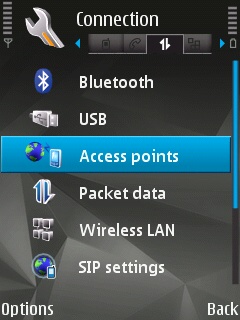
- Select the 'Access Point' option in the 'Connection' menu.
This will then show a list of Access Points the device has previously connected to and access points provided by your service provider.
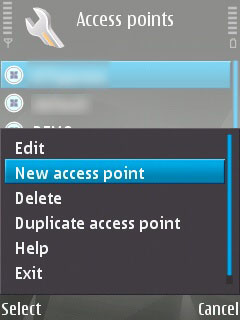
- Press the 'Options' button.
- Select the 'New Access Point' option.
5.2 - Basic Wireless Setup
-
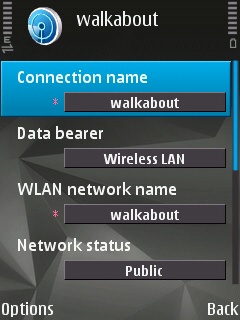
Setup the basic Access Point information as shown below:
- Connection name: walkabout
- Data bearer: Wireless LAN
- WLAN network name: walkabout
- Network status: Public
- Scroll down the settings screen.
-
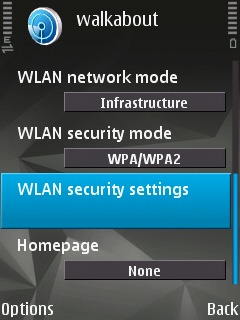
Configure the additional Access Point information as shown below:
- WLAN network mode: Infrastructure
- WLAN security mode: WPA/WPA2
The homepage option can be left as none or changed to the preferred homepage you wish to use for this connection in the Symbian web browser.
5.3 - WLAN Security Settings
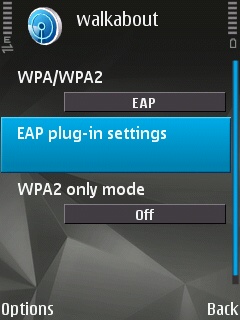
- Select the 'WLAN Security Settings' option in the Access Point configuration screen.
- Set the 'WPA/WPA2' option as 'EAP'.
This will change the appearance of the WLAN Security Settings screen and provide the 'EAP plug-in settings' option.
- Change the 'WPA2 only mode' option to 'Off'.
5.4 - EAP Plug-in settings
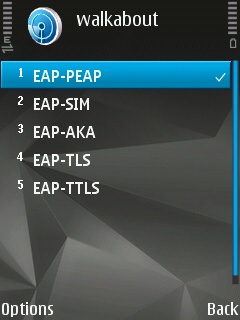
- Select the 'EAP plug-in settings' from the WLAN Security Settings screen.
- Disable all the available options except 'EAP-PEAP'.
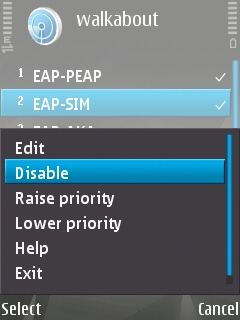
To disable an option:
- Press the 'Options' soft-button with a plug-in selected to disable.
- Select the 'Disable' option in the 'Options' menu to disable a plug-in.
- Repeat on all enabled (ticked) plug-ins until 'EAP-PEAP' is the only option selected.
5.5 - EAP-PEAP Settings
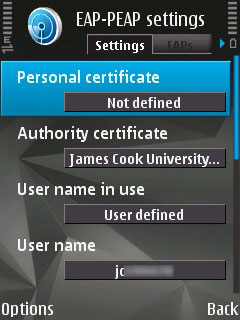
- Press the 'Option' soft-button while the 'EAP-PEAP' plug-in is selected on the 'EAP plug-in settings' screen.
- Select the 'Edit' option from the menu.
- Complete the settings on this screen as per the settings below:
Note: Square brackets ([ and ]) denote comments. Do not include the comments or the square brackets in the actual settings.
- Personal certificate:
- Not Defined
- Authority certificate:
- James Cook University...
- User name in user:
- User defined
- User name:
- [your JC number]
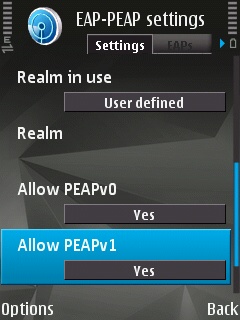
- Realm in use:
- User defined
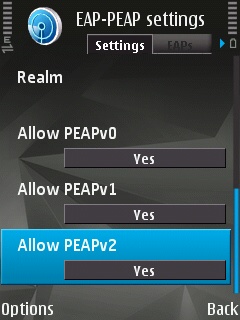
- Realm:
- [leave this blank]
- Allow PEAPv0:
- Yes
- Allow PEAPv1:
- Yes
- Allow PEAPv2:
- Yes
5.6 - EAPs Setup
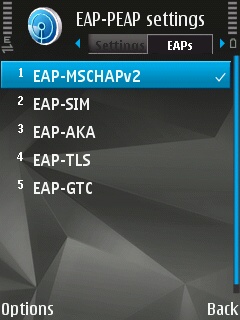
To disable an option:
- Change to the 'EAPs' tap on the 'EAP-PEAP Settings' screen (press the right directional button).
- Enabled 'EAP-MSCHAPv2' if it is not already enabled.
- Disable all other options.
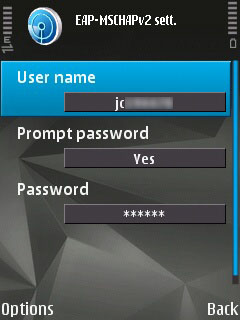
5.7 - EAP-MSCHAPv2 Settings
- Press the 'Option' soft-button while the 'EAP-MSCHAPv2' plug-in is selected.
- Select the 'Edit' option.
- Complete the settings on this screen as per the settings below.
- User name:
- [your JC number]
- Prompt password:
- Yes
- Password:
- [your JCU password]
5.8 - Exit back to Home Screen
- Exit to the home screen by either hitting 'Back' until your arrive or using the 'Home Screen' button.
Testing
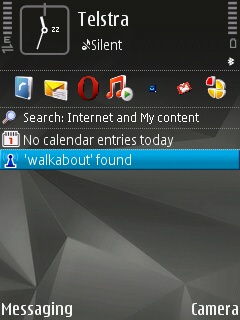
If you have WLAN scan enabled on the home screen it will show ''walkabout' found' on the home screen when you are within range of the Walkabout network.
- Select the 'Walkabout' network option on the home screen.
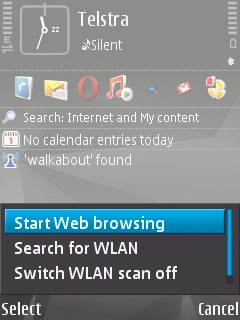
- Select the 'Start Web browsing' option to launch the Symbian browser.
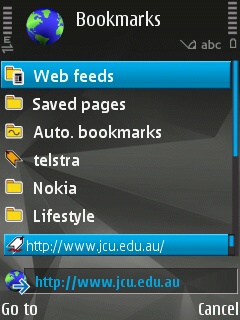
- Navigate to a site using the browser, in this example we have used 'http://www.jcu.edu.au'.

The device will start the wireless negotiation process and show a 'Connecting via 'walkabout'' screen.
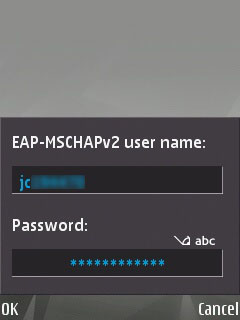
- Enter your JC number in the 'EAP-MSCHAPv2 User name' field.
- Enter your JCU computer system password in the 'Password' field.
- Press the 'Ok' soft-button to connect and load the webpage.
Your phone should now be successfully connected to James Cook University's Walkabout Wireless network.
Updates
March 24th 2010
Through consultation with James Cook University IT&R, the correct certificate has published for use on Symbian devices, which was previously unavailable. Revisions have been made to this tutorial to reflect this.
A extra section was also added to account for a recurring problem with some S60 devices which would not automatically trust installed certificates for all uses.
January 12th 2013
The deprecation of the Walkabout Wireless service by James Cook University has made this article somewhat redundant. I understood the same processes, with different authentication details can be used to successfully authenticate with the replacement Eduroam service. However, as I am no longer a student of James Cook University I do not have access to the campus facilities required for me to update this article. Other contributors are more than welcome to contact me to publish updated information